Project Submission Instructions
A project submission requires uploading two things* to Carmen:
-
A ZIP file of your entire assignment Eclipse project, and
-
One or more PDF files that contain the source code for your project.
(*The only exception is Project #1 in CSE 2221, for which only the ZIP file is submitted.)
Some general notes about project submissions:
-
The last submission you make before the deadline will be graded unless you make alternate arrangements with the grader for a particular lab. Specifically, you may request that a version submitted after the deadline should be graded with a late deduction as stipulated in the syllabus; but as soon as you know it, you must let the grader know that you are submitting late.
-
When group work is permitted or required, one of the group members should submit the project solution as described above and the project content should conspicuously list the names of the team members who participated.
Creating a ZIP file of your Eclipse project
Use Eclipse to export your project as a ZIP archive file.
-
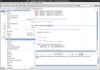
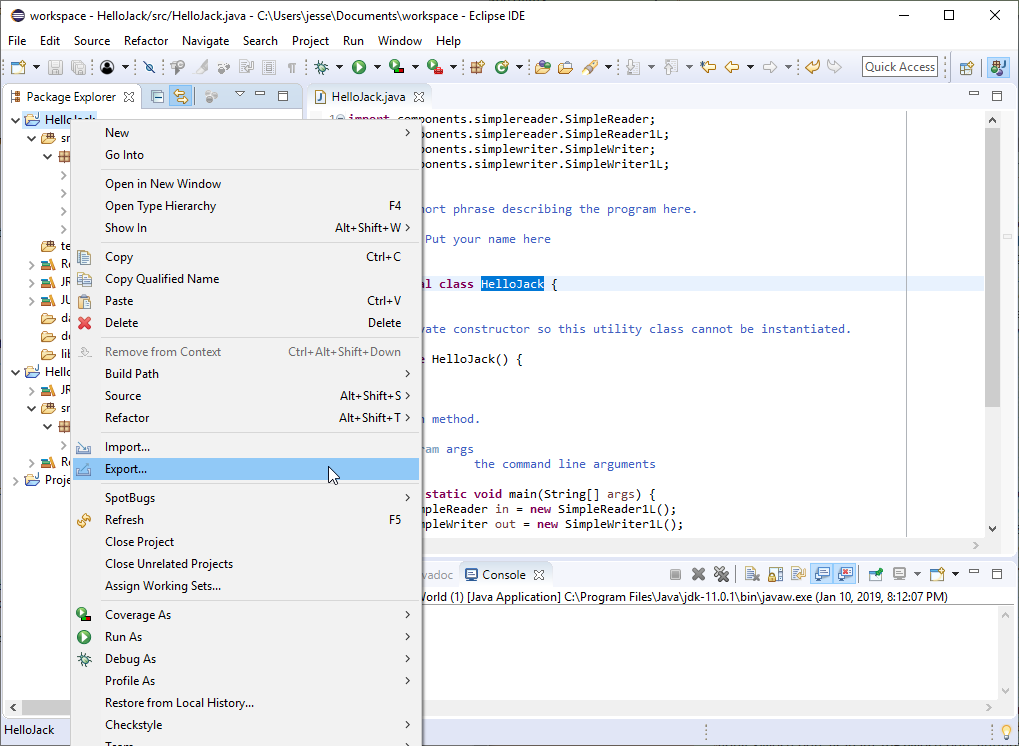
In the Package Explorer view, right-click on the project you wish to submit, and select Export... from the pop-up menu.
-
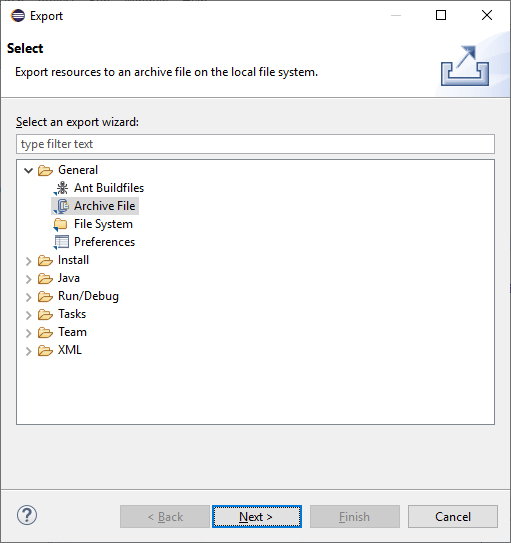
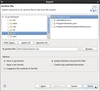
In the Export window, expand the General entry and select Archive File. Click Next.
-
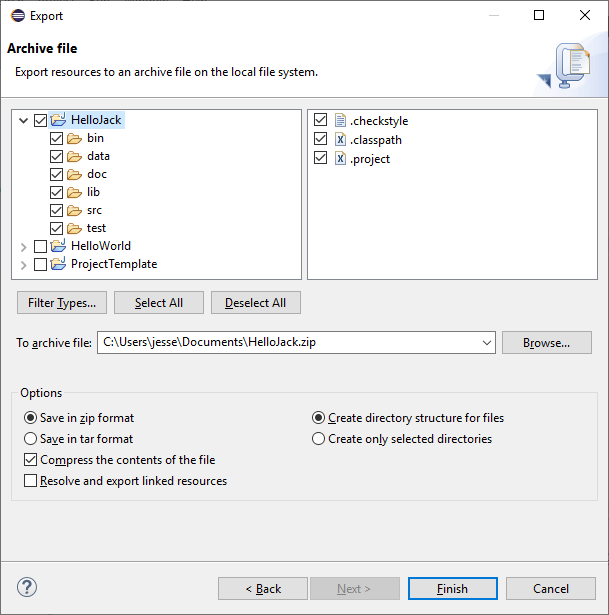
In the next window, make sure that the correct project and everything inside it is selected in the left panel, then in the To archive file box, enter the name of the ZIP file specifying a convenient location in the file system (you can either type the location directly or click the Browse... button to use a file selection dialog). Click Finish.
A few additional notes about creating ZIP files:
-
The recommended name for a project ZIP archive is the name of the Eclipse project itself followed by the ".zip" suffix.
-
There is no reason to worry about which files to include in the ZIP archive. You will be submitting an entire Eclipse project each time.
Creating a PDF of Your Source Code
The process for printing to a PDF file in Eclipse is slightly different for Windows and Mac. Both processes are detailed below.
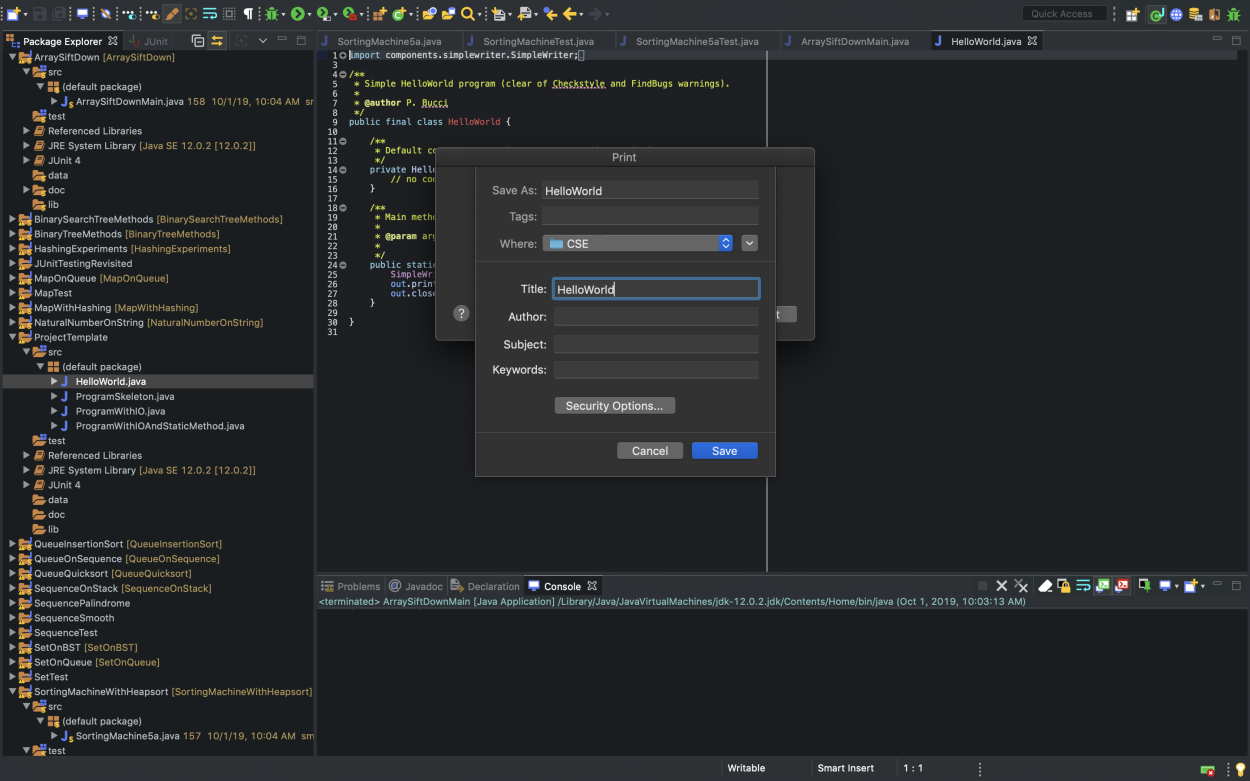
Printing to PDF on Windows
-
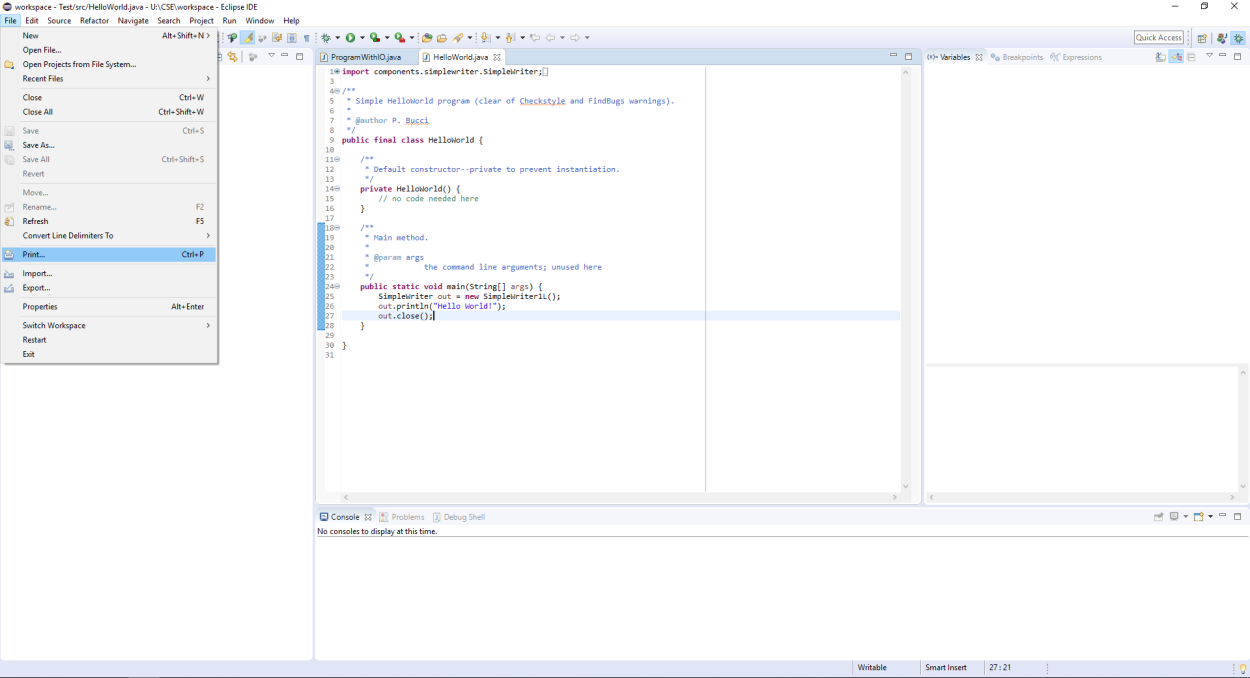
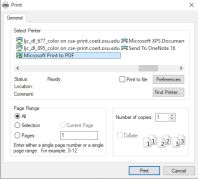
Select the source file you want to make a PDF of and then open the File menu and click on Print....
-
In the Print dialogue, select "Microsoft Print to PDF" as the printer.

-
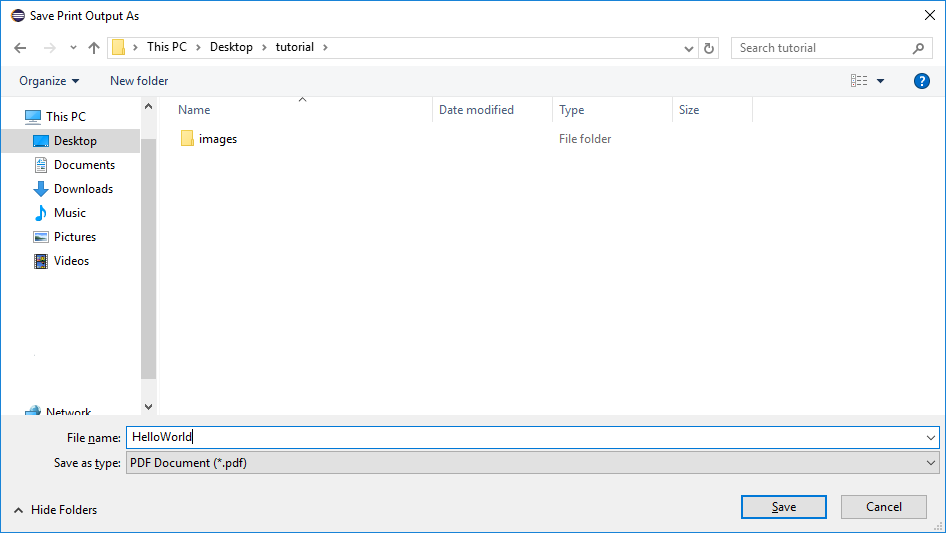
In the Save dialogue, name your PDF file the same as your source file and then save it in your desired location.
Printing to PDF on Mac
-
Select the source file you want to make a PDF of and then open the File menu and click on Print....
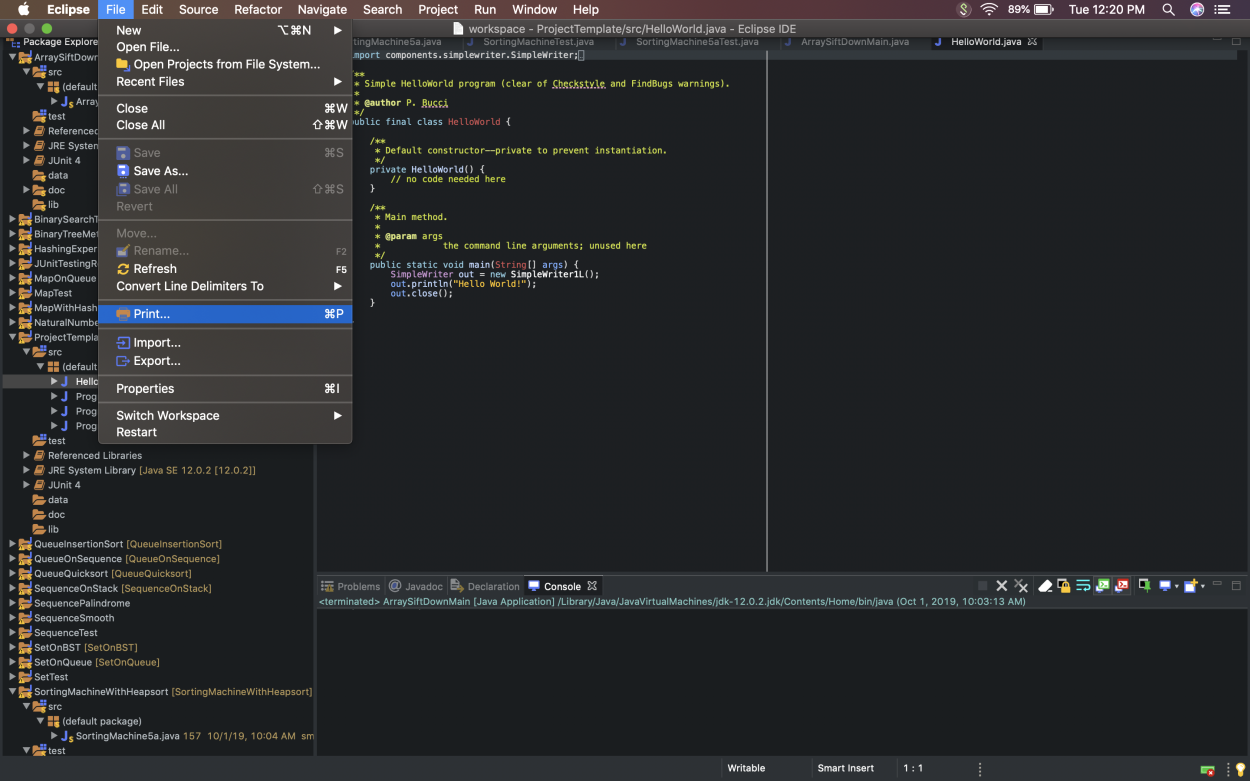
Note: If the Print... option is not enabled, follow these instructions to add a fictitious printer.
-
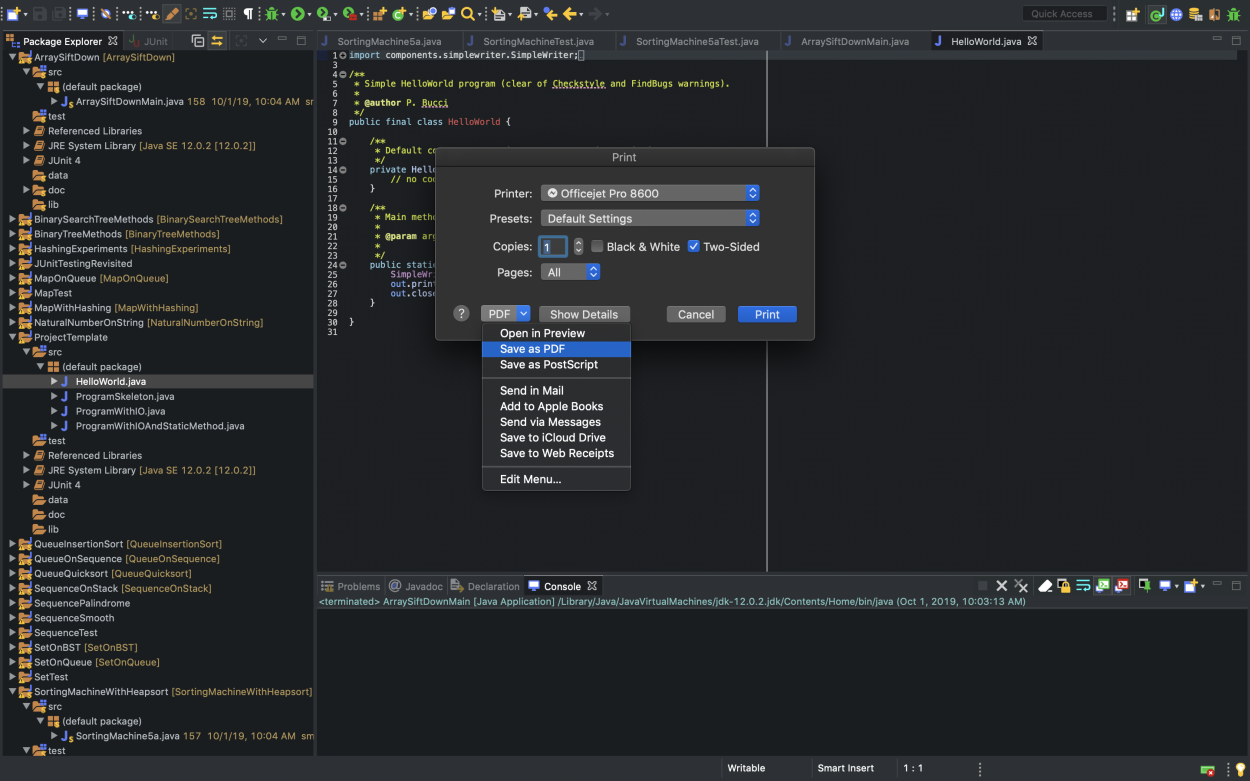
In the Print dialogue, open the PDF dropdown menu and click on Save as PDF.
-
In the Save dialogue, name your PDF file the same as your source file and then save it in your desired location.
Uploading Files to Carmen
-
Upload your project ZIP file as the first file in your submission. After it is uploaded, click on Add Another File.


-
This will create another Browse... button to add another file.

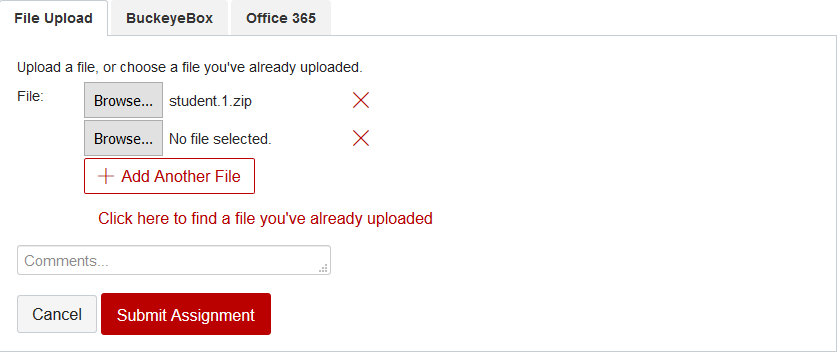
-
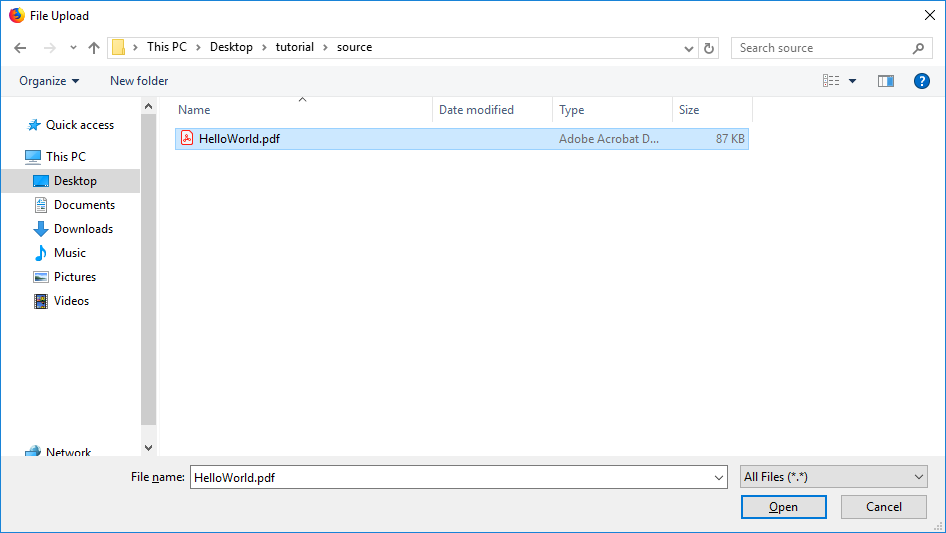
Click on Browse... and select a PDF of your project source code.
-
If you have more than one PDF file to submit, repeat the two steps above for each PDF file.
-
After the PDF file(s) is uploaded, click on Submit Assignment.

